Dirkpitt289
Seam Filler
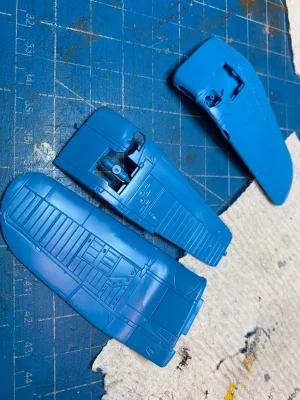
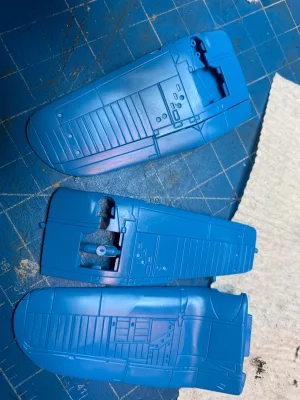
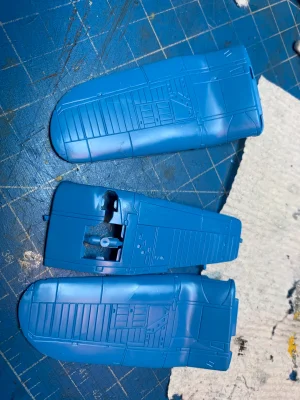
When I was a wee little tot back in the 70's Matchbox kits were all the rage. They were simple, the came in multi-colors (Small craft like Fighters came in two colors, Larger kits like bombers came in three colors) and you could build one and be outside playing with it in an hour or so. No paint was required but if you did want to paint there weren't a lot of options for a 10 year old kid. Paint options were limited to the basic colors, brush options were limited to the white Testors brushes with the plastic bristles, and the tools we use today were not usually available.
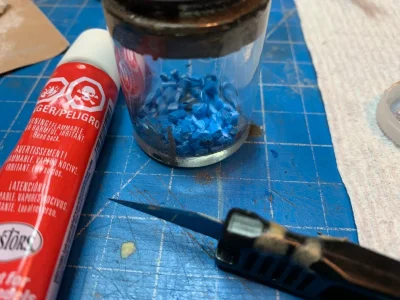
The goal of this build is to challenge myself to build a kit with my today's skills and knowledge but using only what I would have had available to me back in 1977 (10 Year old me). So no air brush, no unlimited colors, No putty/filler, no special tools, and only an orange tube of Testors glue. Maybe some tattered wood grade sandpaper, clothes pins or whatever else a kid would find around his house.
So lets get into the "wayback machine" and head over to 1977

The Kit


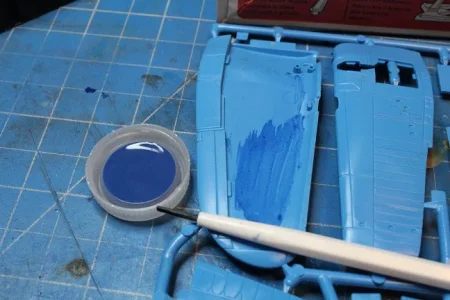
Paints and tools


Stay tuned
The goal of this build is to challenge myself to build a kit with my today's skills and knowledge but using only what I would have had available to me back in 1977 (10 Year old me). So no air brush, no unlimited colors, No putty/filler, no special tools, and only an orange tube of Testors glue. Maybe some tattered wood grade sandpaper, clothes pins or whatever else a kid would find around his house.
So lets get into the "wayback machine" and head over to 1977
The Kit
Paints and tools
Stay tuned
Last edited:


") I say that alot to my fellow employees... All those youngins...
I say that alot to my fellow employees... All those youngins...